Tuesday, July 31, 2012

Cleaning

I just finished my first attempt at cleaning the grout between the bathroom tiles. Our bathroom is a darker charcoal gray (Sherwin William's Pewter Grey to be exact), so contrast with the white tile and white trim is important to my vision. I know, I'm crazy.

Anyways, I found this post on the blog Accessorize and Organize about cleaning grout. I followed the instructions of combining 3/4 baking soda and 1/4 bleach. My bathroom is pretty small so I was able to use the solution on the entire bathroom (barely). I bought a cheap toothbrush from the grocery store, and looking back I wish I had sprung for a better brand with a more durable brush (oh well!). After scrubbing it onto the grout - empahsizing on the parts that needed a little extra work, I followed the instructions for about 10 minutes.

My results weren't as great as I had hoped but below are the before and after pictures of my first attempt. Does anybody else have any tips or tricks?


 BEFORE                                                                       AFTER
 
BEFORE                                                                        AFTER

Monday, July 30, 2012

Shiny! (I mean Faucet Installation)

One of the things that I think really makes the kitchen look a million times better is our new faucet. It's Moen faucet with a water-spot resistant feature that Mike was able to get via his Project Manager status (I feel like I've said this a couple times but - I knew I married him for a reason)!


Here's the old faucet - dinky, right? What you also can't see is the gross stains that surround it - and the old-school sprayer next to it. No thanks. With that complaining out of the way, Mike began his project Let me note that Mike did this all by himself - and only had the below picture-by-picture directions to follow.


For this post I have few tips and tricks or even direction for that matter. I just stood there and let Mike work. By "stood there," I clearly mean that I photographed the situation. There are quite a few pictures I won't post of a very annoyed Mike. He was NOT ready for his close up!


I do know that Mike had to thread the faucet piping down the hole to under the sink. He also had to thread the extendable neck of the sprayer up.


I know I'm not too informative but isn't it pretty?


Sunday, July 29, 2012

SUCCESS!!

I know I already posted today but I'm just so excited!! Hopefully this will be first of many "Before and After" pictures that I'm BEYOND EXCITED to post about. Even though as I type my lower back is screaming at me in pain, my joy is not dulled.

Okay, ready?!

BEFORE - KITCHEN

BEFORE - DINING AREA (and very DIRTY stairs)
AFTER - KITCHEN

AFTER - DINING AREA

I'm absolutely IN LOVE. There are still a lot of little projects to do in the kitchen but it's 95% complete (aka post-worthy). You can even see the beautiful faucet Mike installed himself (post still to come; I just got excited about this one). There are touch ups on the cabinets (scratches from installation) and I'm going to look for a rug for in front of the sink. I also plan to do something about the table and the light fixture.

For two weeks of work - this kitchen is a dream. So white, so bright, so clean! I know Mike and I are crazy, but we get things done!

The cabinets continue...

So we moved in this weekend - it's been a whirlwind! We're unpacked - sort of. Considering we had a 2 bedroom apartment that we couldn't even fully furnish, our new 3 bedroom, 2 bath house (plus a living room and family room) is a spacious to say the least.

We've set up the furniture we do have, and we're waiting for our living room couch and our new KING bed. (I emphasize the size because apparently I sleep on a diagonal in our current queen bed. So needless to say, Mike is excited for the new space).

As for the title of the post, our cabinets are so close to being done I can taste it! We started hanging the doors before the move on Thursday night.


Above you can see the progression. It took some time to get the doors level with each other. Thankfully, there's an apt for that!


On each door we put a clear bumper on the corners of the doors and drawers. This will hopefully cut down on an scrapes. It already helped with the drawers sliding out easier and not sticking to the cabinet frame.

After a lot of labor (on Mike's part) and anticipation (on my part). The doors were up! Look at them in all their glory!


Pardon the mess, we were still in the midst of the move. Unfortunately, Mike and I (the crazy home owners that we are) took little time to revel in the glory of the cabinets. We went straight into hanging the hardware. Mike bought a template from Menard's so that the hardware were all in the same spot on the cabinets.


On each of the doors, Mike lined up the template and marked with a pencil where he should drill. We ended up using the placement for hardware that was a little larger than ours beacuse of our long the handles are (see below); but all in all, the directions are pretty self-explanitory.


So that's where I'll leave this post - doors up and hardware going on. We're about 95% done with the hardware. We had to go out and buy 1.5" nails (longer than the 1" nails that came with the hardware) for the drawers. The drawers are thicker because of the faceplate.

Once Mike installs those I'll post a COMPLETED picture (complete with a brand new faucet that Mike installed himself). All I can say is - I knew I married Mike for a reason!

Friday, July 27, 2012

More painting?!

It's amazing to look around the house and see what we've accomplished (with many, many thanks to my dad). We've painted every single room in that house - ceiling, walls, and baseboards. When I say EVERY SINGLE ROOM, I mean it; we did the master bedroom, 2 guestrooms, 2 bathrooms, the kitchen, living, and the family room. Holy cow!

And I must say - I LOVE IT. The colors work so well together! Below you can see the pictures of our master bedroom color.


I'll post more pictures later. For the most part, Mike and I work in the house after work - so 6PM-9PM. That's not the best picture taking light to say the least. Also, in addition to the wall painting, we have painted the cabinets. You've seen pictures of the bases, but now we're working on the cabinet doors.

Below are the pictures of priming and then painting the doors. We used an angle brush to get into the nooks of the doors, and then we used a foam roller for the flat surfaces (just like the cabinets on the wall). On the doors we did the same pattern of sand, degloss, prime, and paint twice. Fun right?!


Aren't the above painted doors so pretty?! They're especially pretty at 9:45PM (when this picture was taken). I wouldn't recommend painting late at night like us because of the shadows that cast; we couldn't get around it because of our crazy schedule.

More pictures to come ...because this weekend is moving time!

Saturday, July 21, 2012

White - new favorite color?

Below are is the picture for my kitchen inspiration. Isn't it beautiful? So clean, so white, so crisp. It absolutely wonderful


For our kitchen, I took the wall color a tad darker (we got it at Sherwin Williams)


So far we have sanded, deglossed, primed, and painted the cabinet structure (we're still working on the doors.) The first part was to sand. Mike used a hand sander with (60 grit sandpaper) on the flat surfaces. For the crevices (such as the crown modeling) Mike used the sand paper and some muscle.


(Note Mike's mask - dust was flying everywhere!) After we sanded everything down, we deglossed all the surfaces to get the dust, sanded wood, and any other grit/stain left on the cabinet's surfaces. We used a liquid deglosser - it's awesome! We used some of Mike's old white t-shirt and you could see the left over stain on the shirt coming right off!

Below you can see us beginning to prime after these two steps. We used Zinsser Primer - it covers so well it's ridiculous! Below is another of the same picture I showed in our "Sneek Peek" post.


At this point, I already loved the white - streaks and all. Everyone thought I was crazy but this is when they started to see "my vision." At this point, we also started cutting in the walls with its paint since any slip ups could be covered by 2 coats of paint. Below is another shot of the primer coverage!


For the flat cabinet surfaces we used a foam rolling brush (and bought a lot of replaceable brushes). The prime (and paint afterward) went on so smooth and covered all the nooks. On the tighter spots we used a foam brush - I like that they don't leave brush strokes.


We let the primer dry overnight, but the can said it only needed about an hour to dry. So the next day we did our first coat of paint (and the second coat the next day). Below is a picture of the cabinets after the second coat - look at that wonderful coverage!


Don't mind my shadow picture of the coverage - it was later! You can also get a peek at our wall color in the kitchen too. It travel throughout the entire first floor and I'm IN LOVE.

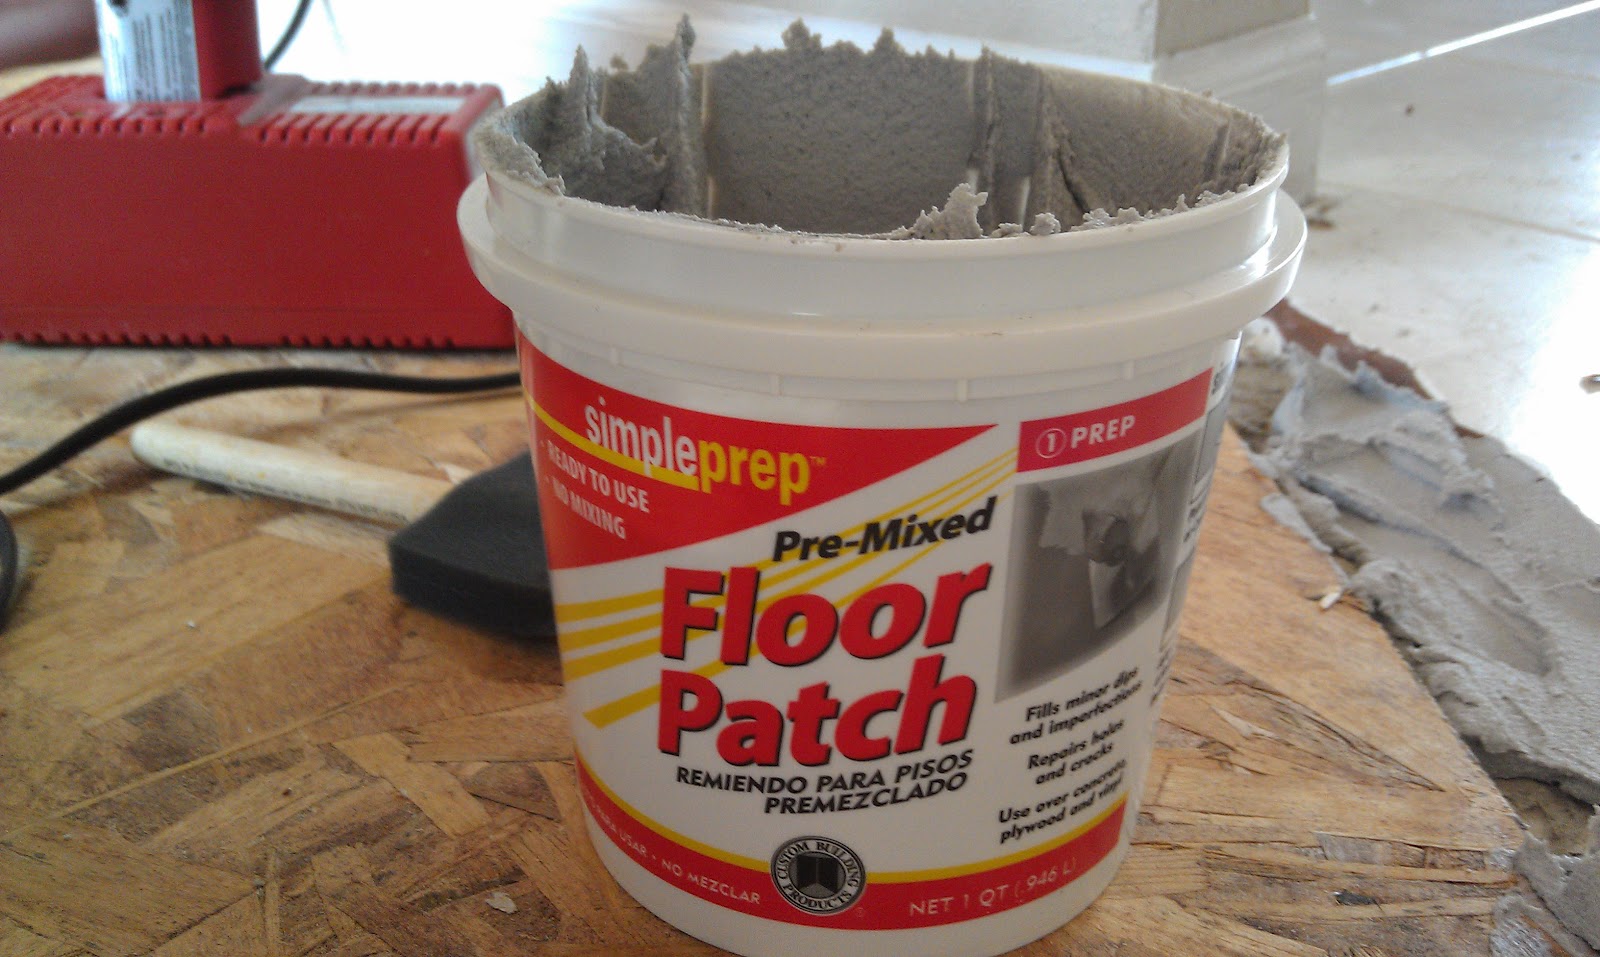
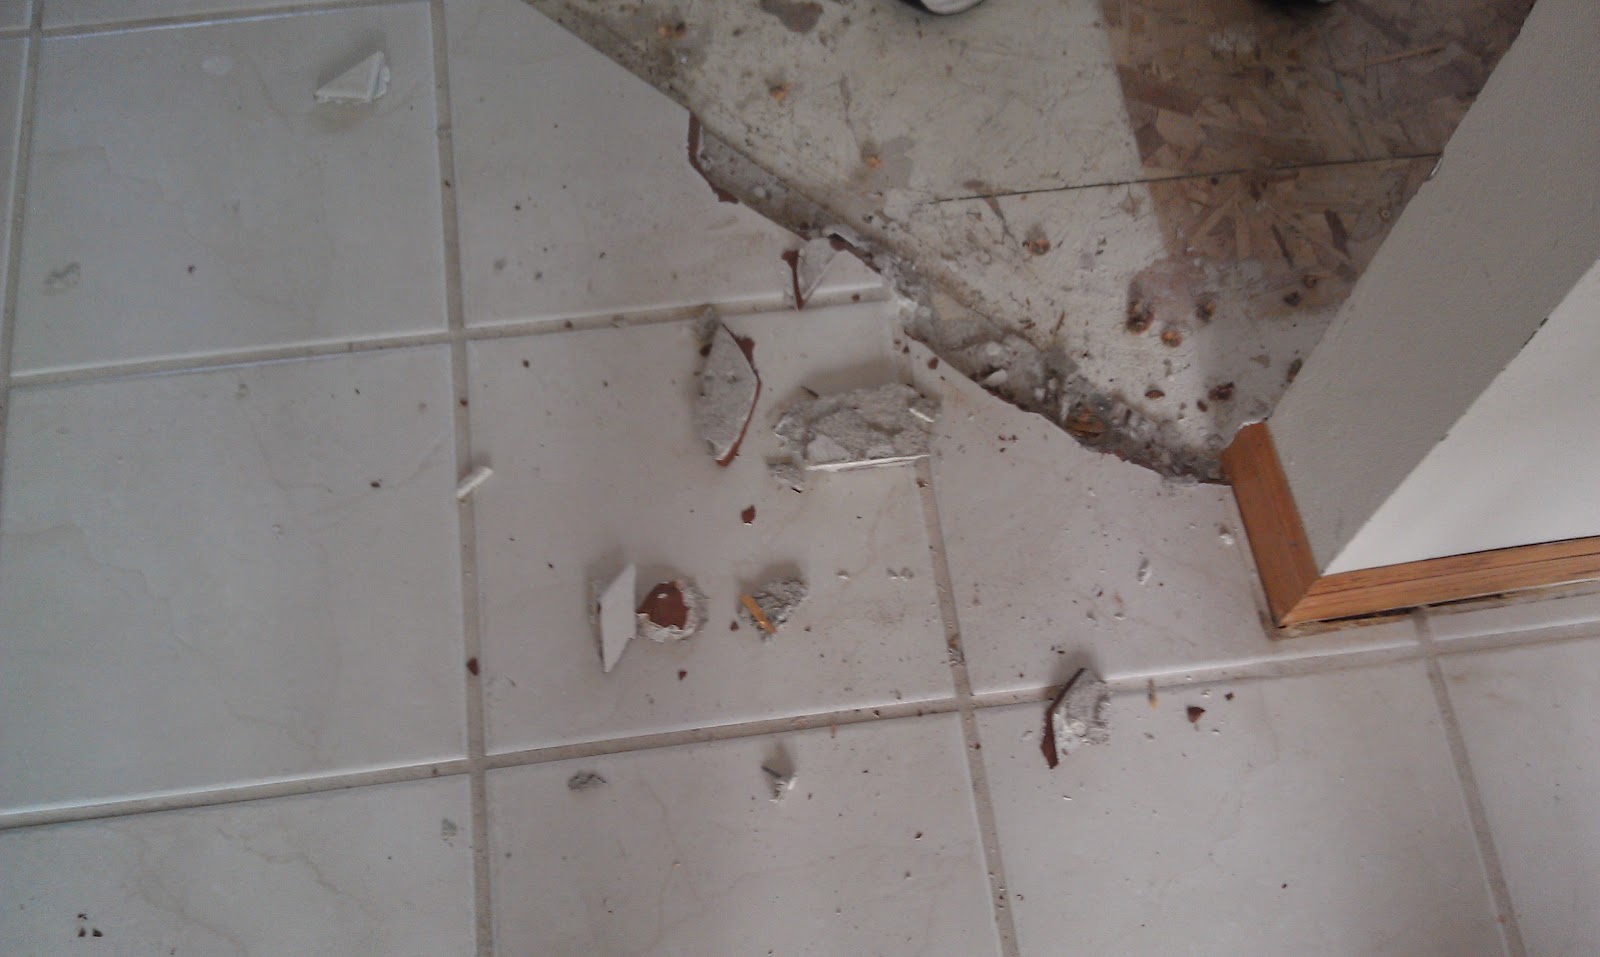
And if you're wondering why the fridge is out in the middle of the kitchen - that would be a floor problem. Because we had to layer the new laminate floor on top of the tile, we had a slight refridgerator issue. The top of the fridge was flush to the two cabinets above it. So by adding a little more height to the floor, the fridge no longer fit. Good thing Mike is handy! Apparently the cabinets were detached from everything else and only drilled into the wall. So with a quick cut and patching up of the crown molding it was good to go (I'll have pictures later)!

So in summary for the cabinets

Step 1: Sand all surfaces (with 60 grit paper)
Step 2: Degloss all surfaces (we used old t-shirts and gloves along with this process)
Step 3: Prime all surfaces (with foam brushes and rollers)
Step 4: Paint all surfaces twice (with foam brushes and rollers)

Eventually, we'll get to the cabinet faces and pictures will come!

Wednesday, July 18, 2012

I'm learning!

So if you ask anyone, I'm not a manual labor kind of gal. I craft. I can paint. I can occasionally pick up heavy things with a lot of help and a few choice words. So these past couple days, as my dad says "is surprising that I haven't bowed out yet." I'm not sure if I should be glad I passed expectations, or be sad because they're so low in the manual labor department. All in all, though, I'm learning!

One such example is when Mike tried to take up the tile. Apparently, it turned into quite a larger project than anticipated.


Both he and his dad tried to take it up, but after much labor it only looked like this. UH OH. This is especially true because now we had an unlevel floor because of the carpet removal.


Considering the plan was to lay down laminate hardwood-finish flooring, this was a major problem. Good thing Mike is a Project Manager and spends his time brainstorming such problems! So instead of taking of the tile, we chose to lay down subflooring where the carpet had been pulled up to level the floor.


So for the next 4 hours or so, Mike and his dad cut each board and drilled them down. Make sure you don't just drill in the perimeter of the board. Drill it down throughout the entire board - otherwise that's how you get creaky, uneven floors. Also, Mike made note of the height difference between the tile and bought the appropriate width of plywood.


To fill in the holes that Mike and his dad created when trying to chip up the tile, we used Floor Patch from Ace Hardware to fill it in. Essentially, it's like cement. Make sure you pack it well into the area and smooth it out with the trowel. Mike had to do it twice because it bubbled up a little (we assume air was caught in between the layers). Also, make sure you don't step in it while it's drying - WHOOPS.


So after this little hiccup of tile removal, it ended well. The next post will go through how we then attempted to lay down the laminate floors over the subflooring and tiled area (and of course, the hiccups that went along with that project).

P.S. Everyone should be impressed with what I've learned and that I actually understood what happened throughout this process (even though I'm sure Mike would be way more technical)!

Tuesday, July 17, 2012

Tearing Up the Floor

One of the first projects we had to do was tear up the carpet in the living room. We did so a little earlier than expected (as in, we did it our very first hour of being in the house) because I wasn't able to sand the entire baseboard with the carpet covering a portion of it. FYI: I'm sanding all the baseboards because we're priming and painting them all white. What can I say? I love white trim.

So the pictures below show Mike taking the carpet up. First, he cut the carpet right down the middle to make it more manageable to pull up (you should also take into consideration the size pieces your garbage collection will pick up).


In the picture above, you can see the matting underneath the carpet. We had to repeat all the steps to take that up as well. After cutting the carpet, Mike pulled it up and began to roll.


Be careful of the nails along the ends of the carpet - they are EXTRA sharp. I learned this the hard way; I already bumped up against them. Mike was able to pull those out with the back of a hammer and a lot of muscle!


You can see that the picture above was taken AFTER taking out the matting. All those little pieces left are staples with extra matting left. We had to remove them with a pliers (and again some muscle). Also to help my sanding process, Mike removed the quater round from the tiled area so I could sand the entire baseboard on the tiled area.


Our next adventure that I'll post about is our plan to remove the tile that you see along the removed carpet area. THAT was a little harder than planned. Good thing I'm married to a Project Manager (i.e. a world-class construction problem solver)!