Showing posts with label Fireplace. Show all posts

Saturday, January 4, 2014

Fireplace Facelift - Part 2

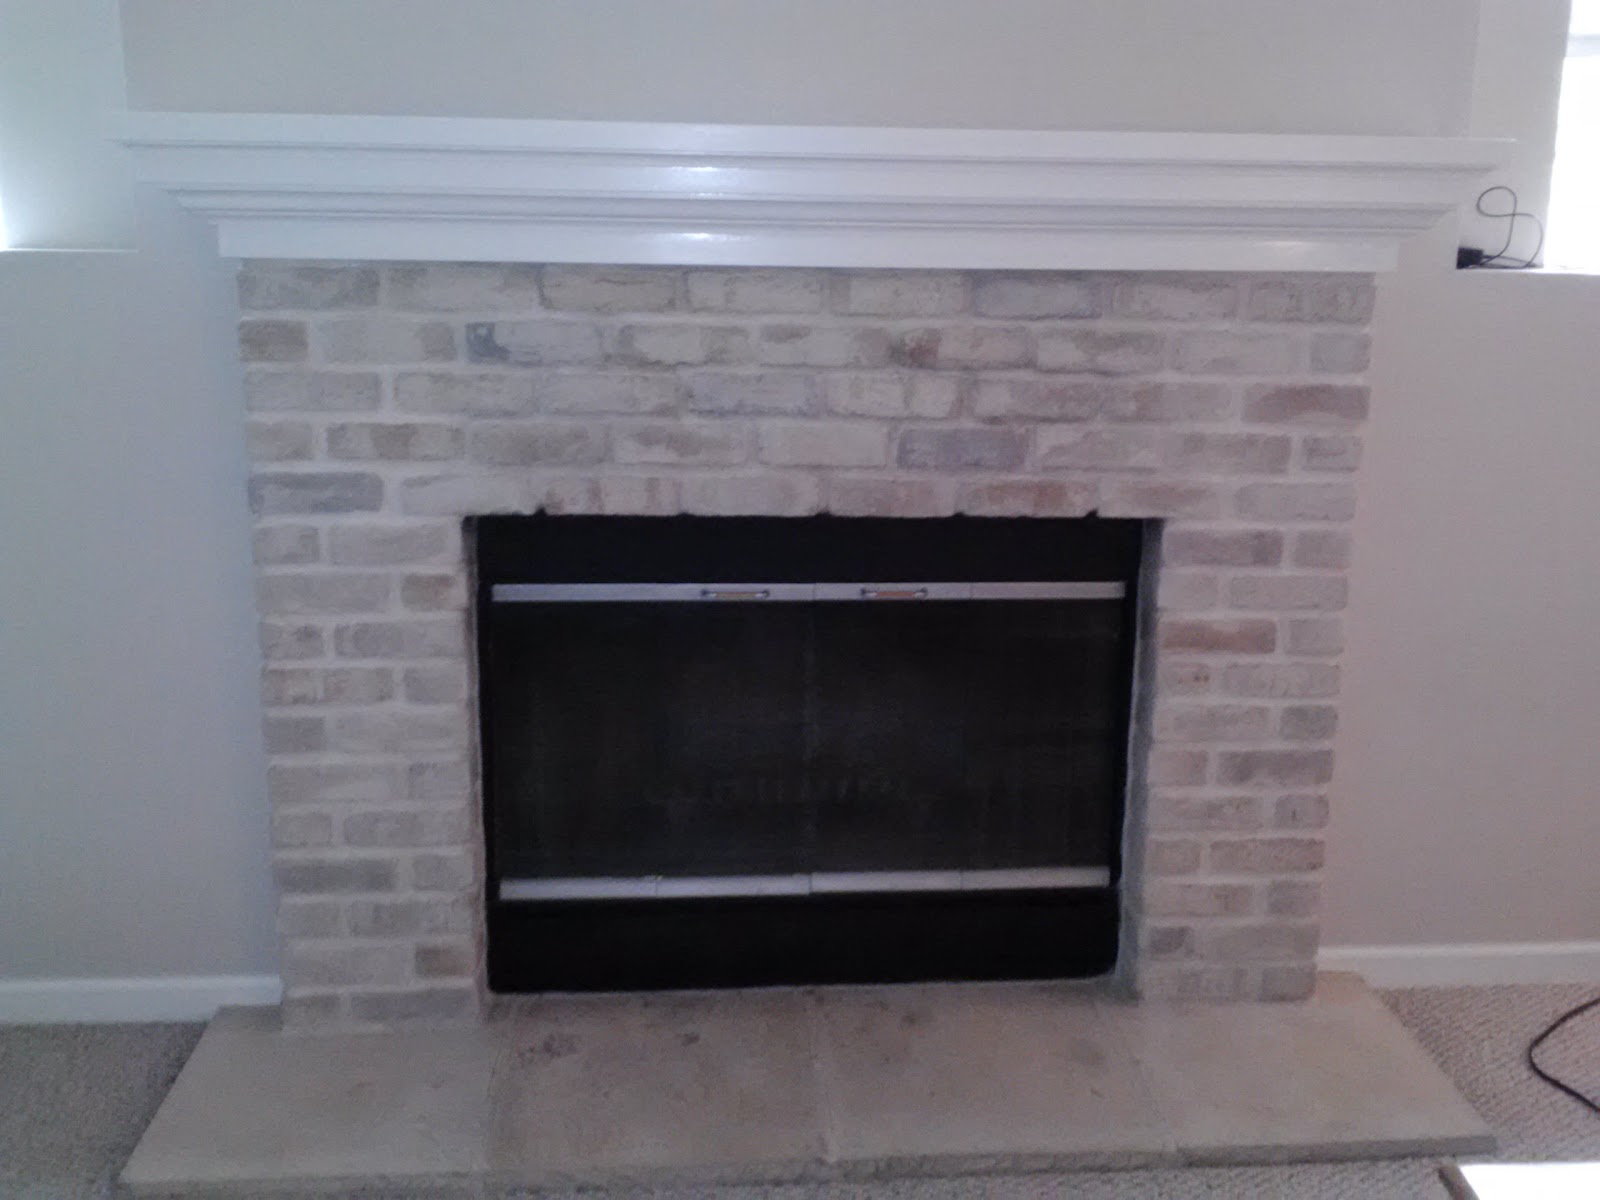
I know that I've been ridiculously slacking on project posts. The holiday season was so crazy with family and friends and last minute gift wrapping! In between all that, though, we were able to finish the fireplace! Ain't she a beauty??


Now, last time we talked the fireplace looked like this:


To start laying out the stone (which basically came in large boxes without a pattern or diagram to follow), Mike made a template of our fireplace.

 
And then I started covering it with stone. I would say the template may have been our saving grace throughout the project. I was able to move stones around based off of color and size and evenly lay out all three sides of the fireplace so they were cohesive. (Note: This part of the project took me a couple weeks because of the detailed-nature. It was basically a puzzle with no picture. There were various lengths, widths and colors).
 

While I was laying out the stone, Mike painted the plywood on the fireplace. It was just a quick coat of our family room color. We figured that in case there were any small gaps between the stones (there's no mortar between each block), no one would notice because it would all be tan.


After I was done laying out all the stones (finally!), it was Mike's turn. For each stone, he took the Air Stone adhesive (the big tub of goo shown in the picture below) and smeared it on with a trowel. There are more specific directions for the thickness on the packaging that we followed.
 
 
The only place we varied from the directions was that Mike didn't do an even coat on the back of each stone. Because each piece had it's own grooves and flaws, Mike had to make sure the pieces had relatively the same depth. He compensated for some pieces but adding for adhesive on the back. You can also see below that Mike had to file some of the pieces down. This made them easier to fit against the plywood base. There was definitely a fair amount of waste in this project due to filing down pieces and cutting. Mike used a hack saw to cut the pieces so we could fit them within our design.
 
 
After applying the adhesive, Mike only had to hold the piece in place for a couple seconds. Note: In the picture above is a corner piece. we started here because these pieces were the literal starting point for each row. This is because the corner piece affected two sides at a time.


For the bottom rows (which is where we started), Mike used a level to ensure that we had a good base for the rest of the pieces above.

 
And then he just started building...


If Mike ever quits his day job, he could be a brick layer because I think it turned out pretty great! Here's my favorite part! The Before and After!
 
 
BEFORE
 
AFTER
 
BEFORE


AFTER

Saturday, November 30, 2013

Fireplace Facelift - Part #1

Here's where we left the fireplace last - without a mantle.

 
Well, let me warn you. It starts to look worse before it gets better. After taking off the mantle, we Mike took off the rest of the tile and the drywall on the top, revealing all the plywood.
 
 
Because we had tile and drywall on previously, before we could start to put up the stone, we needed to make all the surfaces flush. So Mike got more plywood and cut them to box out the fireplace. You can see below the width of the plywood = the gap left behind by the tile between the old plywood and metal base of the fireplace. He secured each piece with a nail gun.


In the meantime, I took the glass around the fireplace outside. I wanted to get rid of the brassy gold ASAP. So I used my go-to Rustoleum High-Heat spray paint. I chose a matte finish in black.


So we ended the day with the fireplace being boxed out in plywood. Getting there, right?


Dismantling the Mantle

Before I show you our demo project, let's rewind a couple steps. Our big project lately has been our fireplace. Since we've moved in, all we've done is paint over the hideous pink that was here before. Other than that it's been left relatively untouched, waiting for its turn.


Originally, I was really hoping to do some sort of limestone look (like this). However, after searching around for a good price and look, it seemed hopeless. So we went back to the drawing board. I really like this look here, and thought about how it could warm up the space (especially since we have all hardwood floors surrounding the area). So after we Mike did some extensive research on the best materials/pricing/look, we found Air Stone at Lowe's. Here's a couple pictures from our shopping adventure. We bought a lot (Tip: always measure your space so you can calculate how much to buy - plus waste too which is normally 10% of the total)!
 
 
Lowe's have two color ways. We chose the Autumn Mountain since our walls are tan. Air Stone also has its own adhesive, so we bought the appropriate amount for our square footage. So we had a really big (and heavy) cart... 
 
 
Now on to actually dismantling the mantle! I don't actually know if there's a step-by-step process because we did what worked for us. First, Mike hammered the flat top of the mantle upward to loosen the nails securing it to the base.


After creating a gap between the mantle top and base, he wedged a screwdriver in between. Hammering the screwdriver in between allowed us to remove the first part of the base (Note: Before trying to take off the mantle, look to see how its secured. We did this and tried to work backwards from there to get to the root place where the mantle was secured onto the wall). The picture below shows Mike wedging the screwdriver in between the top and first part of the base.


The base of the mantle had a decorative piece on top of the base that was actually secured to the wall. See above the picture of the decorative part taken off. After that was taken off, Mike used the screwdriver and hammer again to create a gap between the top of the mantle and the second part of the base. You can see it hanging on the one side ...I think I was supposed to be holding that. Picture taking was clearly my priority.


After the last part of the base was taken off, all that was left was the top and the blocks of wood secured to the wall (The base had been secured to these blocks).


With most of the mantle already dismantled (had to say it!), Mike was able to easily slide off the top. It was snug on the wall, but it slid!
 
 
 The last step was to take the blocks off the wall, which Mike did with  the backside of a hammer.


And so this is how our fireplace looked without the mantle. Kind of naked, right? But that space just couldn't handle the mantle. It was my height and pretty dangerous when walking past because of the pointy edges. Plus it broke up the line of sight from the floor to ceiling. Can't wait to show you guys the next step!!
 
P.S. That red paper on the floor was to protect the floor from any debris.

Wednesday, November 7, 2012

The Mantle

Sorry it's been awhile! I just haven't felt like anything has been post-worthy. We've been doing a lot of little projects but everything matters to a house right? So here's the first little project I've started - decorating the mantle in the family room.
 
Below is the progression of our family room. Slowly but surely we've been working on the fireplace.


I just want to take a moment to note how AWESOMELY CLEAN the fireplace looks in the third picture. I literally swoon (thank goodness for finding Quick N' Brite at our local state fair!) over it.

Anyways, I've never been very good at figuring out what to put on mantles. I find them to be quite difficult so I'm sure what I have now will change. Below is one of the small projects we did - furthering updating the mantle decor:


I bought the candle holders from Target. The "Scatter Joy" print I made on the computer in a simple word document. I couldn't find anything that I LOVED to put in the frame - so this is a good placeholder for now.


Here's what I still need to complete the vision:
  • A tall vase for between the candles and frames - perhaps with some cheery yellow flowers
  • Greenery to put next to the 2 picture frames - to add some contrast to the hard line
 
Clearly another update will be coming! I promise it won't be so long this time!

Thursday, September 6, 2012

Fireplace Facelift

I'M BACK! (Insert a happy dance for a new computer!)

Anyways, a couple weekends ago it was rainy and gloomy so I took advantage of having to be in doors. I've been debating on what to do to our fireplace - dark stain or painted white? How's a girl to choose?? Well if you know me then you know I love Christmas. LOVE CHRISTMAS. Like decorate on Halloween love. So clearly I chose by how my Christmas decor would look ...so white it is!

I used the same Benjamin Moore Cloud Cover white paint (their Regal line) as I did on my cabinets and trim. Along with the same method of sanding lightly and wiping the area with deglosser. For the fireplace I ended up doing one coat of primer and 3 coats of paint (instead of my cabinet's 2). Here's my before (during) and after.

Before:

After one coat:


After:


Also note I spray painted a fresh coat of black spray paint that is meant for high heat areas. I also used my metallic spray paint (I just love it!) on the metal trim. See the picture of my tape job attempt:


And then below you can see the spray paint that snuck under the plastic and left marks! SNEAKY!


But don't worry - just a little more black (high heat) spray paint cleared that up! Live and you learn! I'll update this post later with a decorated mantle - I'm getting there!

Saturday, August 11, 2012

Fireplace Cleanup

Mike and I have been looking everywhere for a brick cleaner to clean the ash and dirt off our fireplace. You wouldn't think it be that difficult - yet I got a confused face when I asked my normal handy man experts at Menards. Well, thank goodness we live in Wisconsin and our State Fair is all about gadgets, cleaning products, and food. It's like a warehouse full of infomercials - I LOVE IT. Anyways, I had done some research and knew we needed a product called Quick N' Bright for our fireplace disaster. Luckily we passed a booth selling the product!


So here are picture of what the previous owners did to the fireplace and left us with:


Yuck, right?! I'm not even sure how you get your fireplace that dirty (and how you don't even care)! Anyways, I used the Quick N' Bright paste and steel wool and my muscles. I let it sit for about 5 minutes. The harder stains I had to do multiple times, but the easier ones I could see come off with a little (a lot!) of elbow grease. Here is the after picture


Much better! And here are the multiple times I had to use the paste and steel wool on the floor slab. I'll probably do it one more time to see what else I can get off, but it's still a major improvement!


In other news, Mike and I finally got our new doors yesterday! So this weekend will be all about routing the doors out, painting them (and the hinges), and hanging them! Needless to say, I can't WAIT to have doors again (neither can our guests who want to go to the bathroom)!